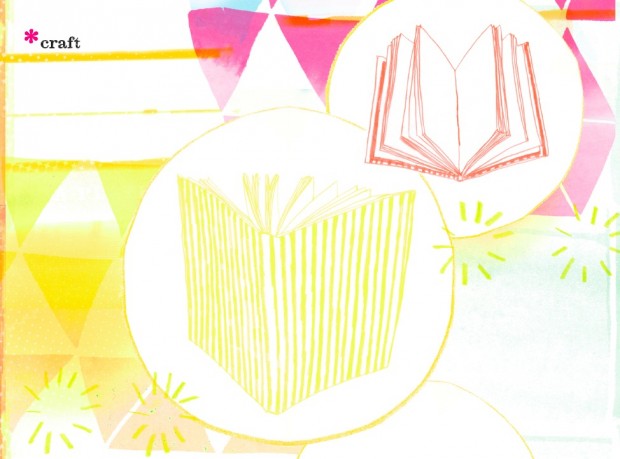
Want something to write down and immortalize all those crazy adventures you’ll experience this summer? If you fancy something that’s absolutely and truly yours, individual and customized to the very brims, try binding your own little book with our tutorial
Words by Sam Del-Greco, illustrati on by Eve Bracewell
You will need:
* around 32 sheets of A4 Paper
* PVA glue
* hole punch
* string
* stiff cardboard
* fabric

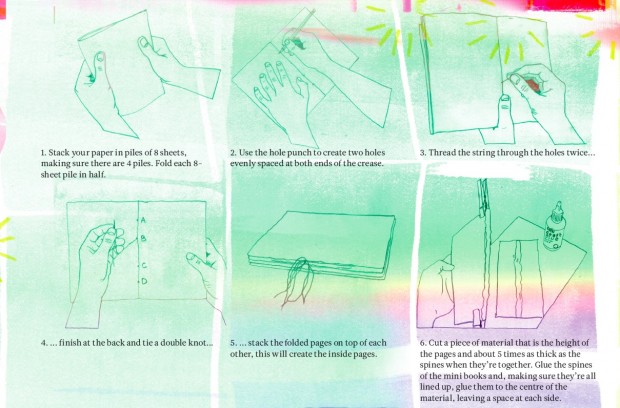
1. Stack your paper in piles of 8 sheets, making sure there are at least 4 piles.
2. Fold each 8-sheet pile in half.
3. Use the hole punch to create two holes evenly spaced at both ends of the crease. Thread the string through the holes twice and tie in a double knot at the back.
4. Stack the folded pages on top of each other to create the inside pages.
5. Cut a piece of material that is the height of the pages and about 5 times as thick as the spines when they’re together. Glue the spines of the mini books and, making sure they’re all lined up, glue them to the centre of the material, leaving a space at each side.
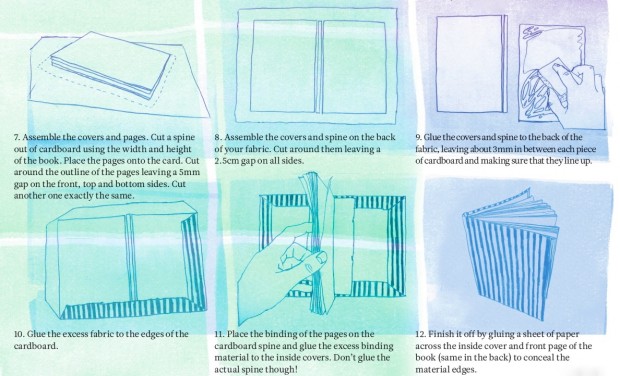
6. Place the bound pages onto the card. Cut around the outline of the pages leaving a 5mm gap on the front, top and bottom sides. Once done, cut another one exactly the same.

7. Assemble the covers and pages. Cut a spine out of cardboard using the width and height of the assembled book.
8. Assemble the covers and spine on the back of your fabric. Cut around them leaving a 1-inch gap on all sides.
9. Glue the covers and spine to the back of the fabric, leaving about 3mm in between each piece of cardboard and making sure that they line up.
10. Glue the excess fabric to the edges of the cardboard.
11. Place the binding of the pages on the cardboard spine and glue the excess binding material to the inside covers. Don’t glue the actual spine though.
12. Finish it off by gluing a sheet of paper across the inside cover and front page of the book (same in the back) to conceal the material edges.


