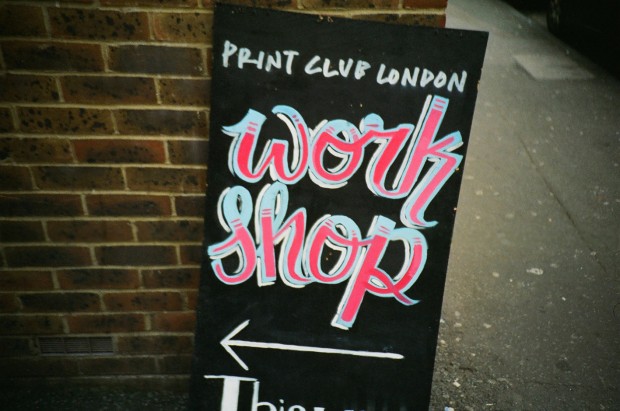
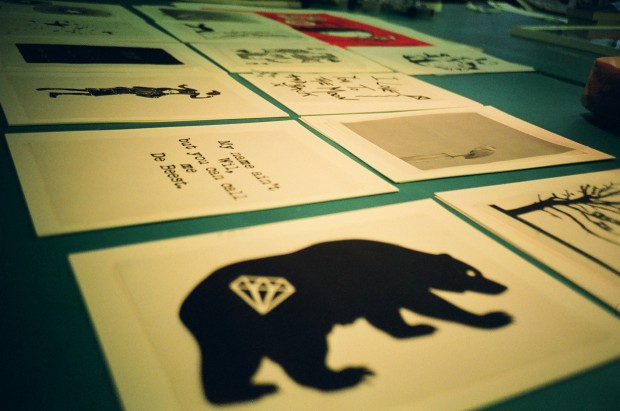
The boards beneath our feet as we skate and shred are often as eye-catching as the surroundings we roll through or the tricks we pull. Why? Because most likely, unless you went and bought a blank deck, your board is a screen-printed masterpiece! Pre the days of our beloved boardsports, the art of screen-printing can be credited to ancient China as a form of stenciling, but it’s Andy Warhol who propelled its modern popularity as a printing technique with his famous Marilyn Munro beauties. These days, illustrators and graphic designers the world over, get the emulsion out to print up limited runs of their creativeness for our eager eyes and empty walls. On the list of things to try for a while now, we headed over to Print Club London in Dalston, one of the rare places to open their doors to the public on a weekly basis for beginner screen-print workshops. The perfect place for us (clueless creative) to give it a go…
Words & photos by Hannah Bailey
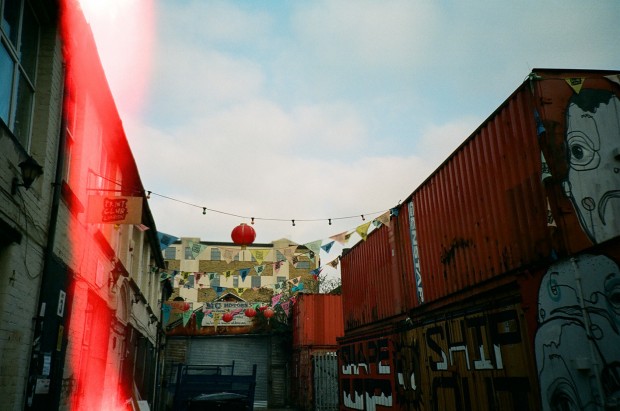
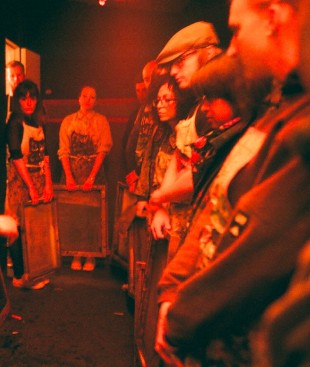
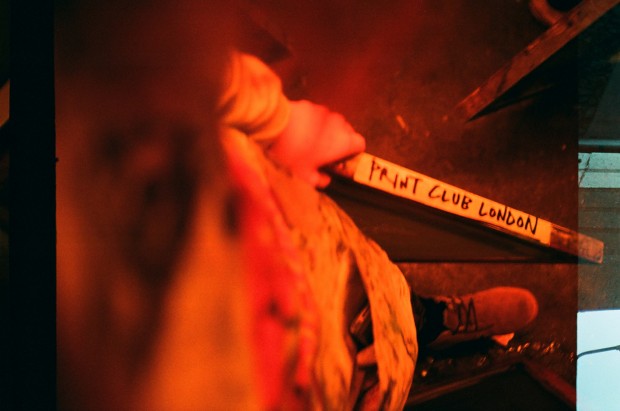
From black and white to multi-coloured, blended beauties to mistaken mash-ups, screen-printing is along the creative lines of analogue photography, which we are big fans of. It’s a handcrafted technique that opens itself to a ton of variables just ready to flaw you’re work. But practice makes perfect! So into the back streets of dusty Dalston we headed to locate the creative hub of the Print Club, which calls a warehouse down a cobbled backstreet home. Like the entrance to Narnia, we excitedly pushed through the metal doors and into their world…
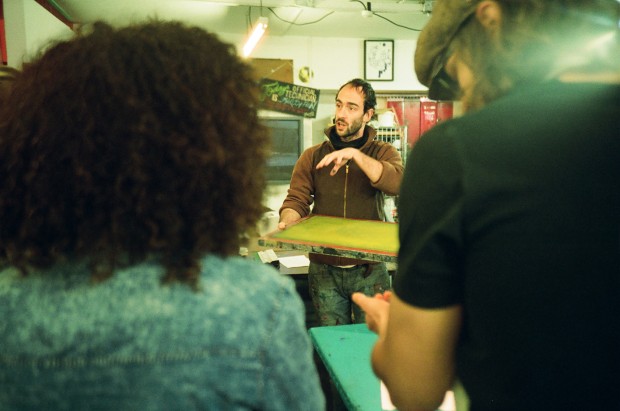
It’s straight down to business, with a cuppa in one hand and a piece of art chosen to be our masterpiece in the other, technician Olly gives us a general overview of the art we are about to learn. So knowledge inherited, successful screens printed, here is Cooler’s craft corner on how to screen-print!
Step 1: Choosing what will be your screen-printed masterpiece…
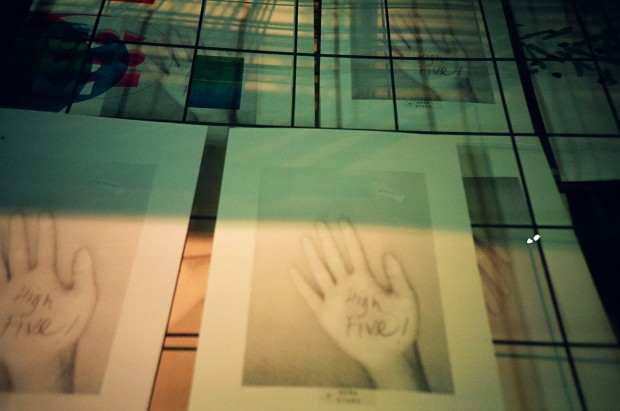
In honor of Neon Stash’s upcoming event ‘Tie Dye High Five’, we opted to get creative with the poster- a photocopied high five hand! Now, the best pieces to print up are big, bold, simple block design or illustrations, but as ours was a photo style image, a bit of digital enhancement was required to turn it in to a halftone pattern (aka: a series of Dots). Techy Simon, showed us how, google can show you! So ready and printed out on to transparent paper (tracing paper or transparencies), it’s one more chance to check out your piece, black marker any flaws or spots, before you creatively commit! There’s no going back….
Step 2: Into the dark to see the light…
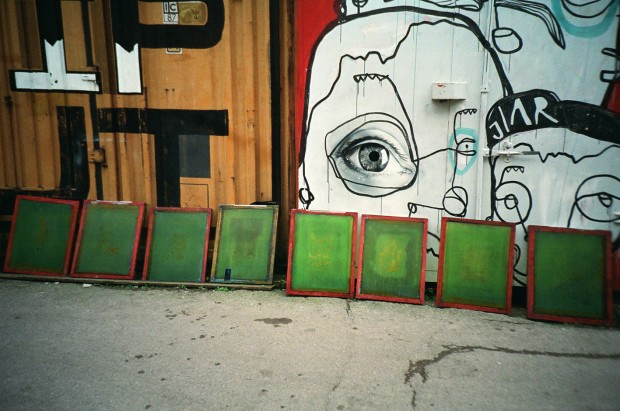
With a clean canvas screen provided by the Print Club, we head off into the eeriness of the safe light zone, a damp red-lit room. Emulsion is a sensitive soul, scared of the light and we’re about to coat it all over our new screen friend. A couple coats over the screen and it’s off to a dark room to dry… Ding!
When dry, it’s time to expose your piece on to this prepared screen. Your film positive face down on it and into the exposure unit (the Print Club has a mega massive machine to do the job, but in normal life, you likely don’t have one knocking around your house! So, ask a local screen printer to do it for you or there is the option to DIY build something using light-bulbs, hmmm.). After a minute and a half in a massive exposure unit or a miscellaneous amount of time using your DIY lamp contraption, your design will be burnt onto the screen forever! Or at least until the screen is recycled…
Step 3: Exposed and ready…
Give it a good rinse to get rid of any emulsion or debris and then once it’s dry, your screen will be good to go. Brown tape any areas you won’t want paint squishing through during the print process, e.g. around the sides or any holes in the screen, then it’s time to get your hands dirty and your eyes on the colour…
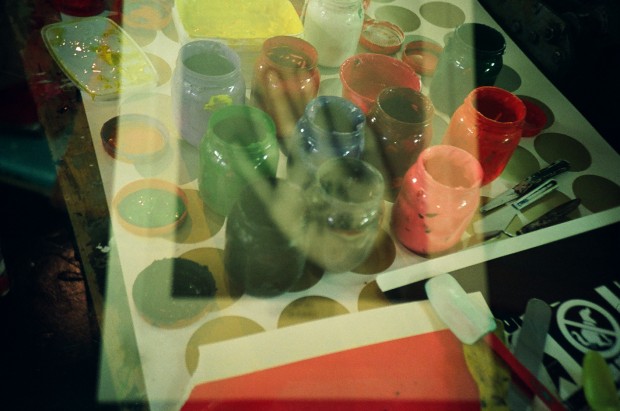
Acrylic awesomeness, you can use all or any colours of the rainbow! You can blend them together, get the perfect shade or keep it simple and just use black. Being rookie first timers with only a day to print, we were just doing the one simple layer, so one colour (unless you were blending). We selected pink and grey, darely opting to blend the two to make a spectrum of colour on our page… squeegee at the ready!
Step 4: Take your mark, get set…
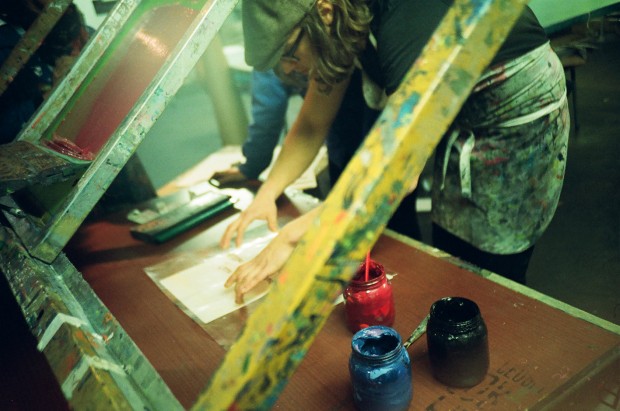
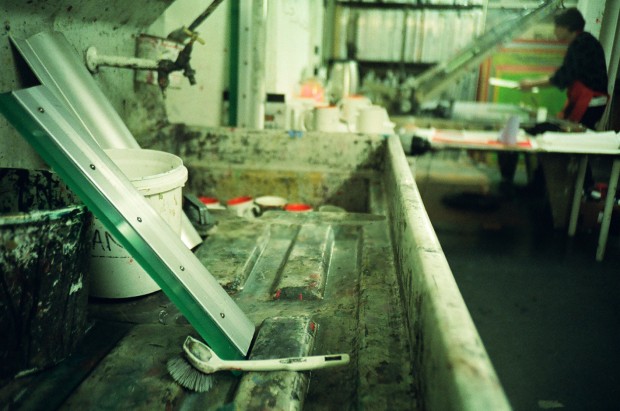
So taking your position over a perfectly set-up workspace, which lucky for us, we were provided with, it’s time to get printing! A smooth surface with clamps to keep everything in place is vital, the paper and screen need to remain steady during the process. So line-up your pre-printed transparency under the screen to get a guide for where to put your blank canvas. Mark the spot with some tape around the edges and then secure down your nice piece of card. Slap on a good dollop of paint all across the bottom of the screen, for total coverage then grab your squeegee and cover the screen, moving the paint to the top.
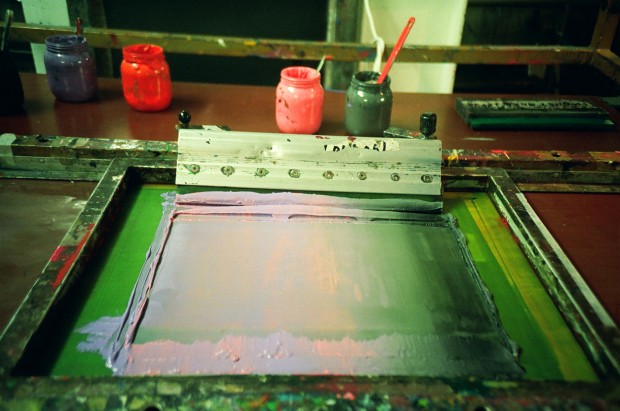
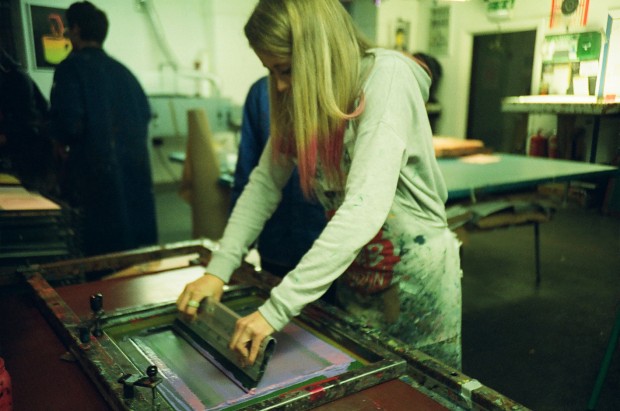
Lower your screen down onto the paper and now’s the all-important screen-printing part we’ve talked so much about. This is your moment don’t mess it up! In one smooth action, pull the squeegee and the paint down over the screen back towards you.
Step 5: Lift the lid and ‘ta da’!
High five! It’s there, it’s appeared on the paper, like magic, except you know how you did it and it took a good bit of effort! So your hard earned pieces are put aside to dry proudly on the racks. You can now repeat the printing process till you’ve run out of steam or paint or paper or desire…
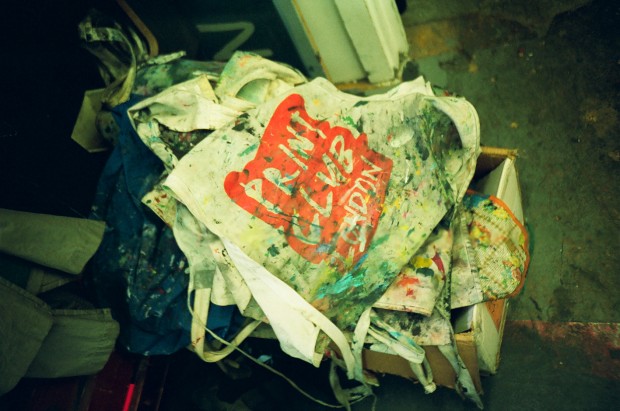
6: Go clean up that mess
You’ve likely made a right creative mess by now, but that’s life as an artist and what it takes to make a masterpiece. Sit back covered in paint, creatively exhausted and admire your work.
Thanks Print Club! Not only did we learn and leave the workshop a more knowledgeable person, but we also walked away with 10 lovely exclusive Tie Dye High Five prints. So get to a workshop or try it yourself at home!
Check out Print Club London for more info on their workshops and other services!