 With the autumn winds blowing strong, you might look for a little friend to go outdoors and play with, so why not make yourself a kite? We had a fully blown instruction in the mag a while ago, so in case you don’t sleep on your Cooler archive (which you definitely should do if you ask us!), here’s the lowdown again in half-way digital form…
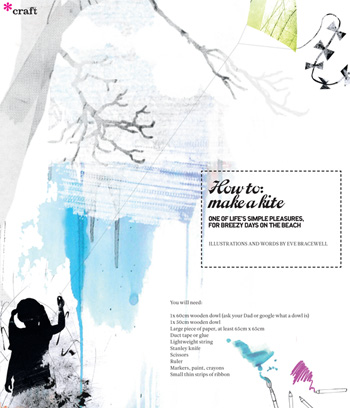
Words & illustration by Eve Bracewell
What you need:
* 1x 60cm wooden dowl (ask your Dad what a dowl is)
* 1x 50cm wooden dowl
* large piece of paper, at least 65 x 65 cm
* duct tape or glue
* lightweight string
* stanley knife
* scissors
* ruler
* markers, paint, crayons
* small thin strips of ribbon
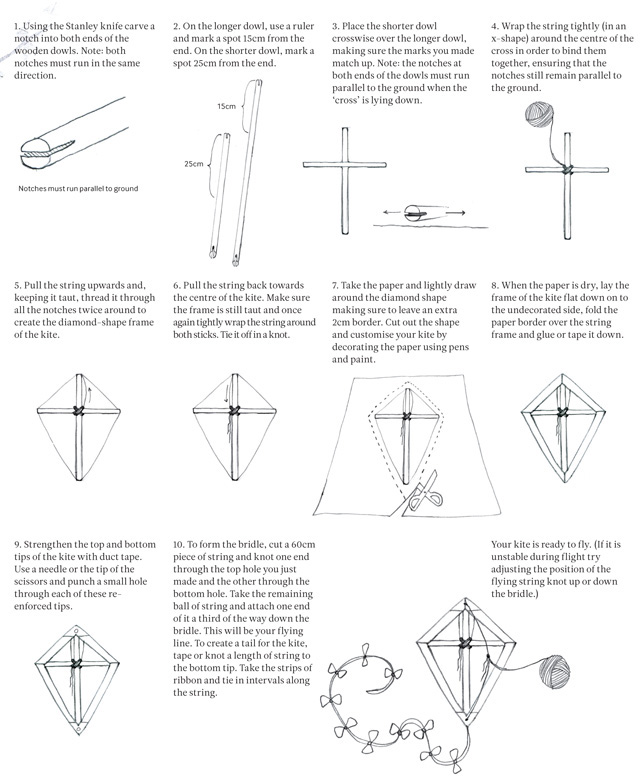
- Using the Stanley knife carve a notch into both ends of the wooden dowls. Note: both notches must run in the same direction.
- On the longer dowl, use a ruler and mark a spot 15cm from the end. On the shorter dowl, mark a spot 25cm from the end.
- Place the shorter dowl crosswise over the longer dowl, making sure the marks you made match up. Note: the notches at both ends of the dowls must run parallel to the ground when the ‘cross’ is lying down.
- Wrap the string tightly (in an x-shape) around the centre of the cross in order to bind them together, ensuring that the notches still remain parallel to the ground.
- Pull the string upwards and, keeping it taut, thread it through all the notches twice around to create the diamond shape frame of the kite.
- Pull the string back towards the centre of the kite. Make sure the frame is still taut and once again tightly wrap the string around both sticks. Tie it off in a knot.
- Take the paper and lightly draw around the diamond shape making sure to leave an extra 2cm border. Cut out the shape and customise your kite by decorating the paper using pens and paint.
- When the paper is dry, lay the frame of the kite flat down onto the undecorated side, fold the paper border over the string frame and glue or tape it down.
- Strengthen the top and bottom tips of the kite with duct tape. Use a needle or the tip of the scissors and punch a small hole through each of these re-enforced tips.
- To form the bridle, cut a 60cm piece of string and knot one end through the top hole you just made and the other through the bottom hole. Take the remaining ball of string and attach one end of it a third of the way down the bridle. This will be your flying line. To create a tail for the kite, tape or knot a length of string to the bottom tip. Take the strips of ribbon and tie in intervals along the string.
Your kite is ready to fly! (If it is unstable during flight try adjusting the position of the flying string knot up or down the bridle.)